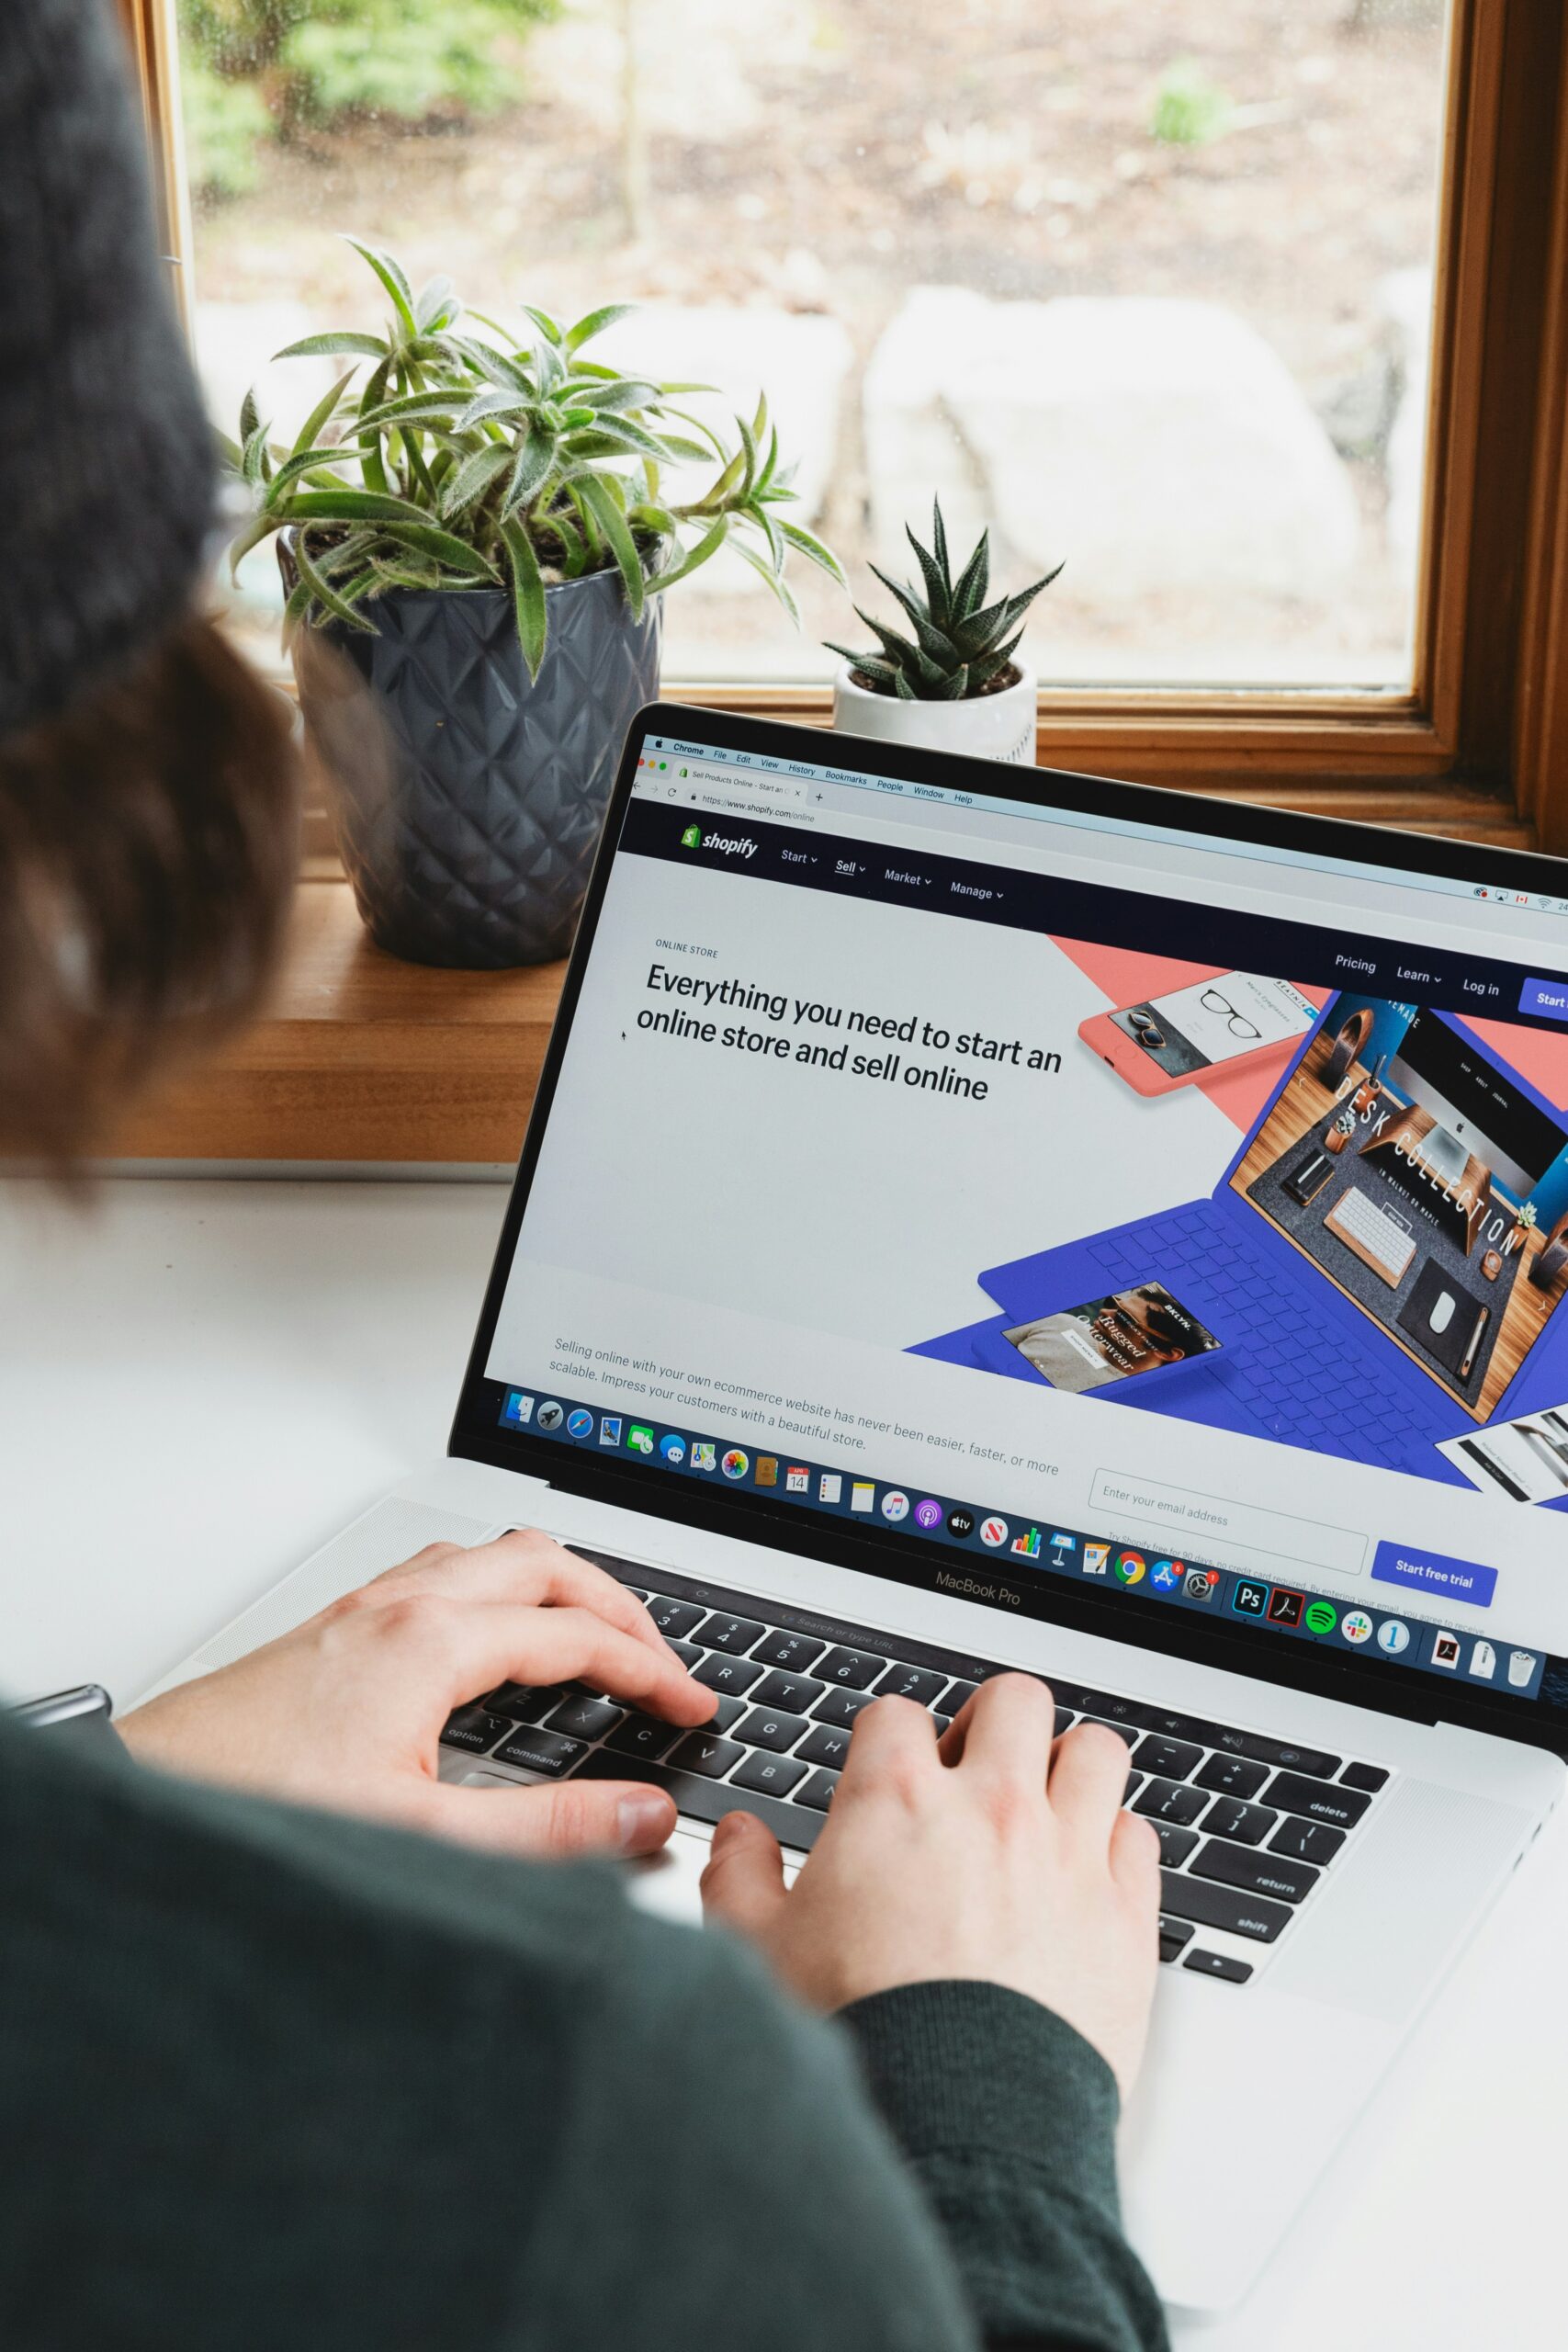


Printify is a popular print-on-demand platform that allows you to create and sell custom products through your Shopify store. By integrating Printify with Shopify, you can easily add your designs to a wide range of products and start selling them to your customers. In this step-by-step guide, we will walk you through the process of connecting Printify to Shopify.
Step 1: Sign up for Printify
If you haven’t already, go to the Printify website and sign up for an account. You can choose between a free plan or one of their paid plans, depending on your needs. Once you have signed up, you will have access to their catalog of products and printing facilities.
Step 2: Install the Printify app on Shopify
Next, go to the Shopify App Store and search for the Printify app. Click on the app and then click on the “Add app” button to install it on your Shopify store. Follow the prompts to authorize the app and grant it the necessary permissions to access your store.
Step 3: Connect your Printify account to Shopify
Once the app is installed, you will be redirected to the Printify dashboard within your Shopify admin. Click on the “Connect Printify Account” button to link your Printify account to your Shopify store. You may need to log in to your Printify account if you are not already logged in.
Step 4: Choose your products
After connecting your accounts, you will have access to the Printify catalog within your Shopify admin. Browse through the various product categories and select the ones you want to sell. You can choose from a wide range of products, including t-shirts, hoodies, mugs, phone cases, and more.
Step 5: Customize your products
Once you have chosen your products, you can start customizing them with your own designs. Click on a product to open the product editor, where you can upload your design, adjust its placement and size, and preview how it will look on the final product. Take your time to ensure that your designs are aligned correctly and look great.
Step 6: Set your pricing and publish
After customizing your products, you can set your pricing and profit margins. Printify will provide you with a base price for each product, and you can add your desired markup to determine the final selling price. Make sure to consider factors such as production costs, shipping fees, and your desired profit margin when setting your prices.
Once you are satisfied with your pricing, you can publish your products to your Shopify store. The Printify app will automatically create product listings for each variant of your custom products, including different sizes, colors, and designs.
Step 7: Start selling your custom products
With your products published, you are now ready to start selling your custom products through your Shopify store. Share your products with your audience through your website, social media, and other marketing channels. Whenever a customer places an order, Printify will handle the printing, packaging, and shipping of the product on your behalf.
Remember to regularly monitor your sales and customer feedback to ensure the quality of your products and the overall customer experience. You can also continue to add new products and designs to expand your product offering and attract more customers.
Connecting Printify to Shopify is a straightforward process that allows you to tap into the world of print-on-demand and create a unique and profitable online business. Follow these step-by-step instructions, and you’ll be on your way to selling customized products in no time.