


Introduction
Shopify forms are a powerful tool for capturing customer information and generating leads. By integrating these forms with High-Level, a comprehensive marketing automation platform, you can enhance your customer relationship management and streamline your business processes. In this guide, we will walk you through the step-by-step procedure to connect your Shopify forms to High-Level, enabling you to seamlessly manage and nurture your leads.
Step 1: Install and Set Up the High-Level App
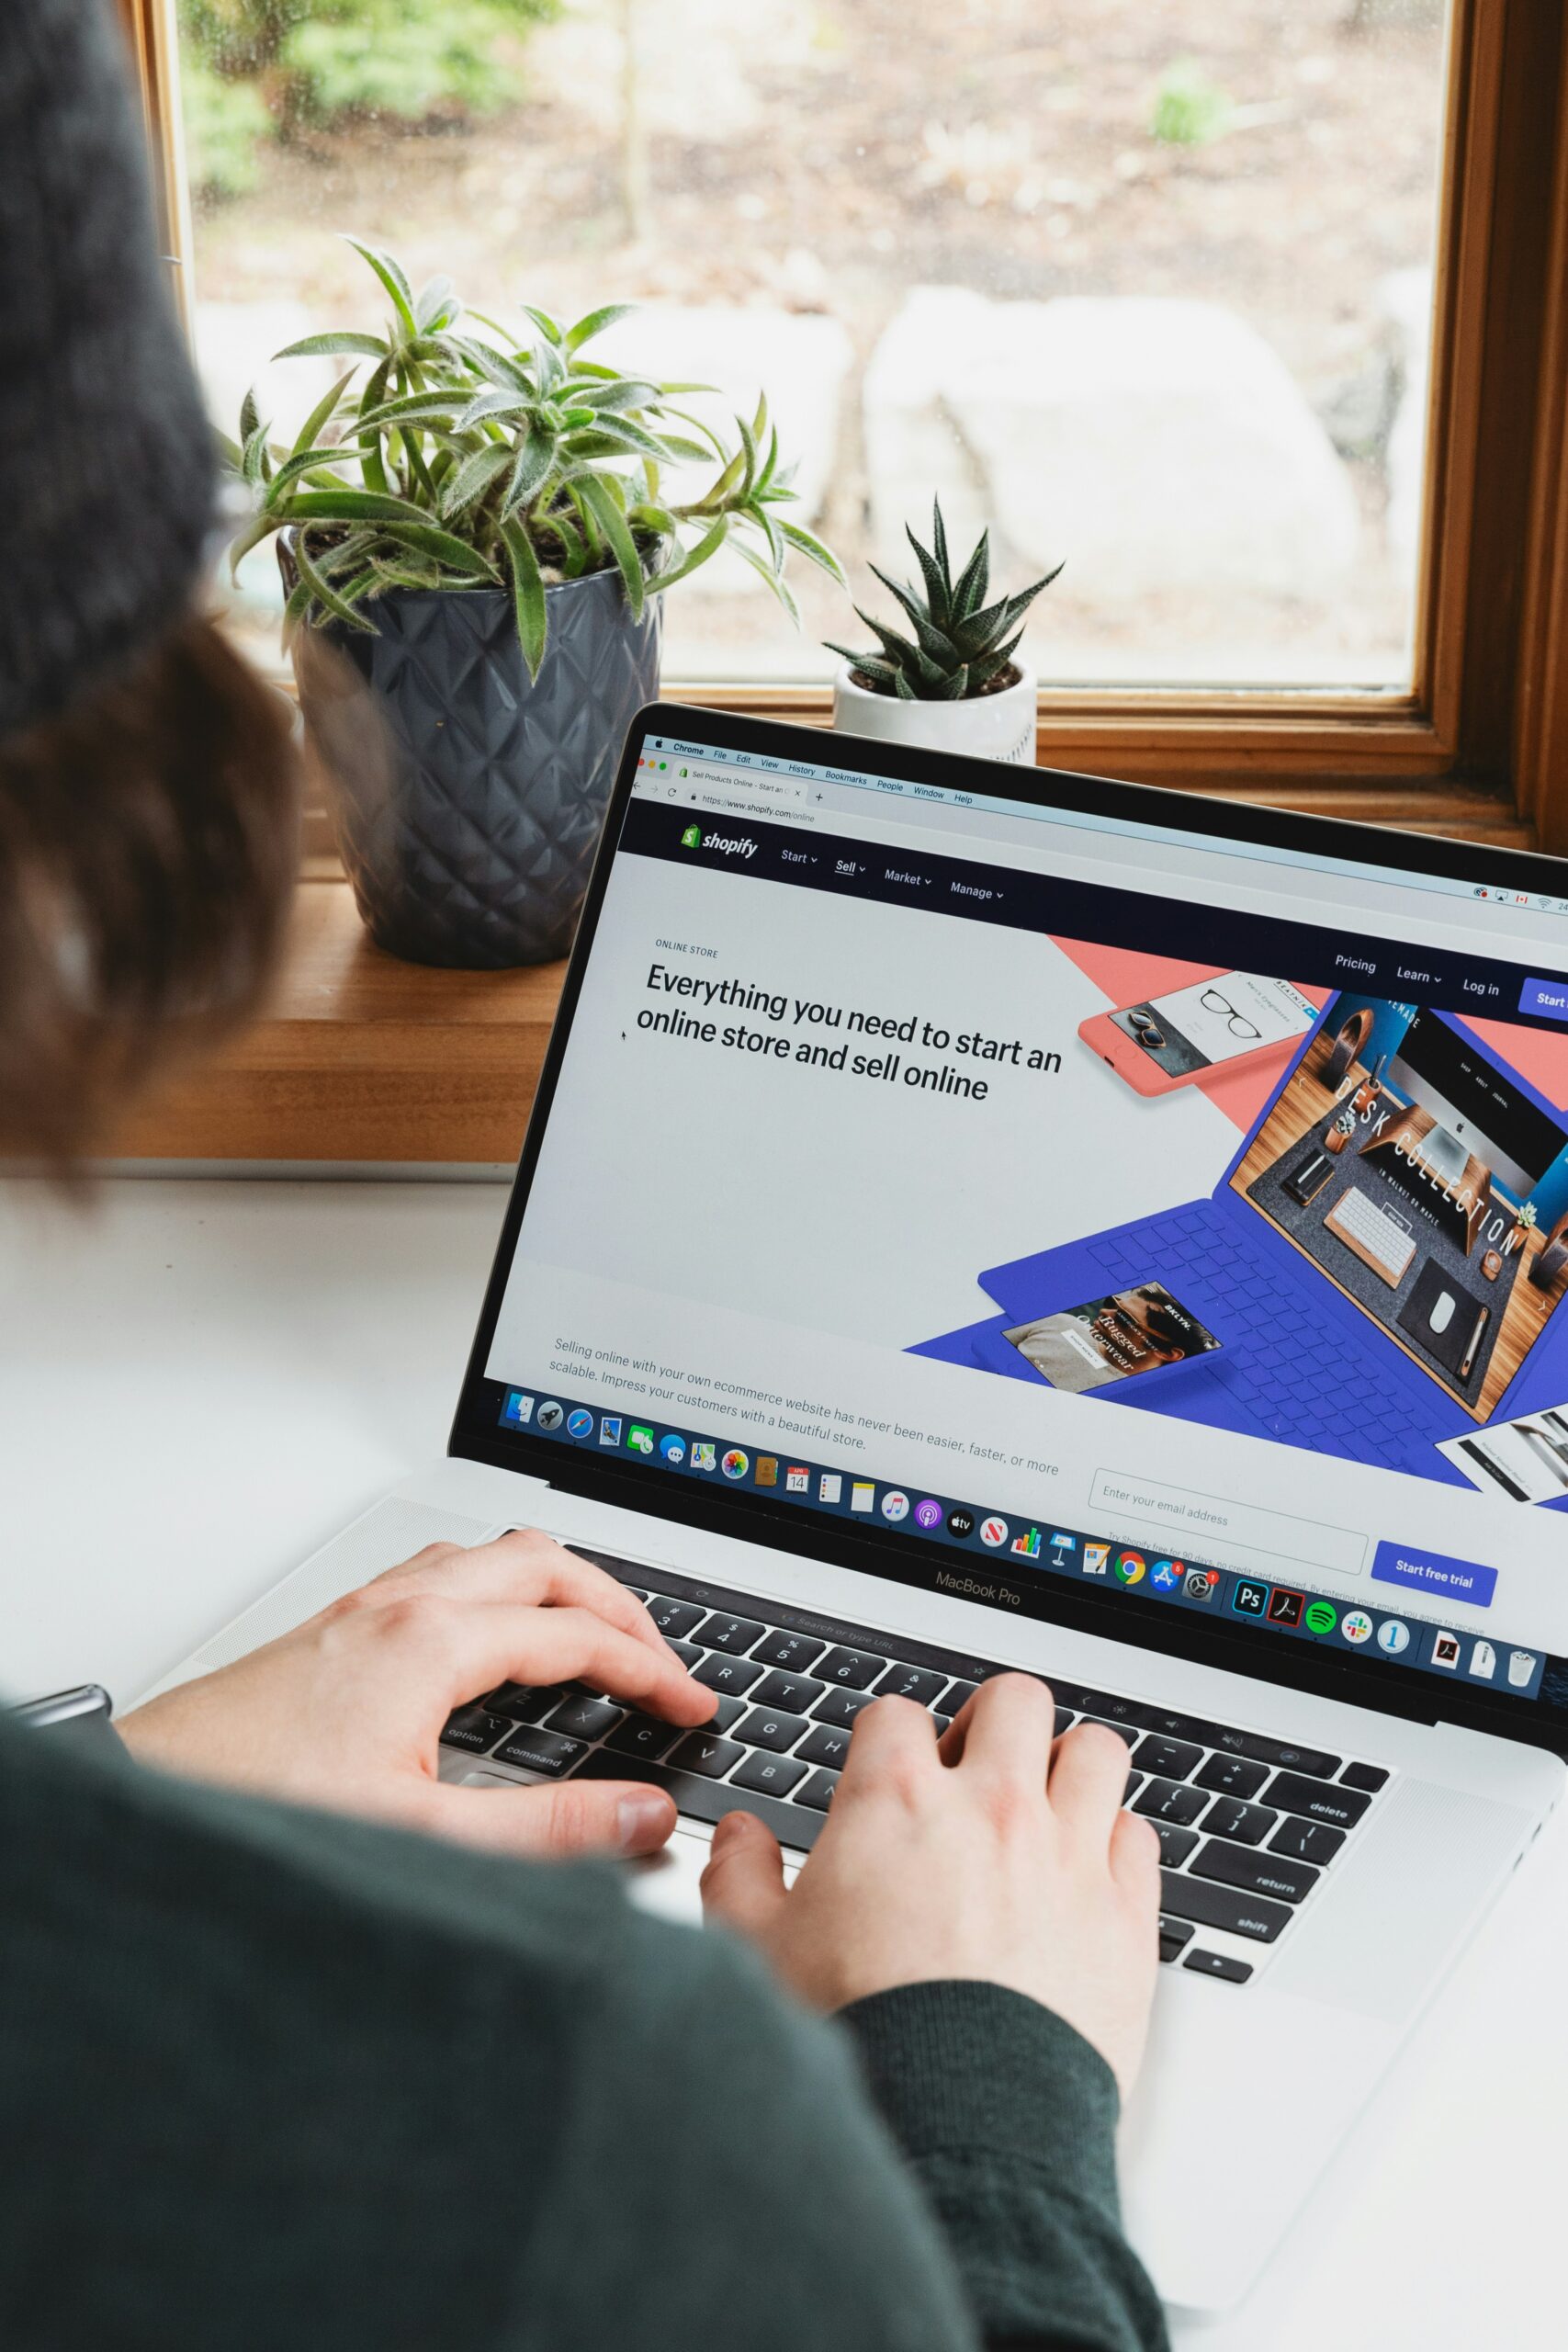
The first step is to install the High-Level app on your Shopify store. To do this, navigate to the Shopify App Store and search for “High-Level.” Click on the app and follow the instructions to install it on your store. Once installed, open the app and create a High-Level account or log in if you already have one.
Step 2: Connect Your Shopify Store to High-Level
To connect your Shopify store to High-Level, you will need to generate an API key. In the High-Level app, go to the “Settings” tab and click on “API Keys.” Generate a new API key and copy it to your clipboard.
Next, go to your Shopify admin dashboard and navigate to “Apps” > “Manage private apps.” Click on “Create a new private app” and fill in the required details. In the “Admin API” section, enable the necessary permissions for the app. In the “API Key” field, paste the API key you generated in High-Level.
Save the changes and you will receive an API password. Copy this password and go back to the High-Level app. Paste the API password in the corresponding field and click on “Connect Shopify Store.”
Step 3: Create a Form in High-Level
Once your Shopify store is connected to High-Level, you can start creating forms. In the High-Level app, go to the “Forms” tab and click on “Create New Form.” Give your form a name and select the fields you want to include, such as name, email, phone number, and any other custom fields you require.
Customize the design and layout of your form to match your brand’s aesthetics. You can choose from a variety of templates and customize the colors, fonts, and form fields to create a seamless user experience.
Step 4: Integrate the Form with Your Shopify Store
To integrate the form with your Shopify store, go to the “Embed” tab in the High-Level form editor. Copy the provided HTML code snippet.
In your Shopify admin dashboard, navigate to the page or section where you want to add the form. Edit the corresponding liquid file or use a page builder app to access the HTML editor. Paste the HTML code snippet in the desired location and save the changes.
Step 5: Test and Monitor Form Submissions
Once the form is integrated into your Shopify store, it’s essential to test its functionality. Fill out the form as a test user and submit it to ensure that the data is captured correctly and synced with High-Level.
In the High-Level app, go to the “Forms” tab and select your form. You can view and manage all form submissions in the “Submissions” section. High-Level automatically syncs the form submissions with your CRM, allowing you to track and nurture leads effectively.
Conclusion
By connecting your Shopify forms to High-Level, you can streamline your lead generation and customer relationship management processes. Following the step-by-step procedure outlined in this guide, you can seamlessly integrate High-Level with your Shopify store and leverage its powerful automation and CRM capabilities. Start capturing and nurturing leads more efficiently today!